In today’s digital age, content management systems (CMS) power the majority of websites on the internet — from personal blogs and online stores to corporate portals and digital magazines.
Whether you’re a beginner learning how to build your first website or a professional managing multiple client projects, understanding how to properly install and configure a CMS is a critical skill.
In this guide, we’ll explore the installation process of popular CMS platforms, essential configuration tips, and professional practices to help you build a secure, scalable, and high-performing website.
1. What Is a CMS and Why It Matters
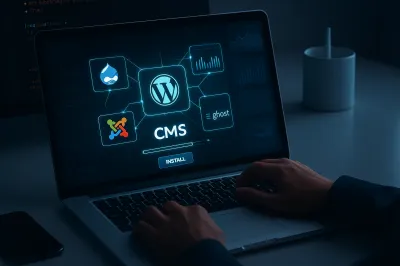
A Content Management System (CMS) is software that enables users to create, manage, and modify website content without needing advanced coding skills.
Some of the most widely used CMS platforms include WordPress, Joomla, Drupal, and Ghost.
Key Benefits:
-
User-friendly interface for non-developers
-
Easy content publishing and updates
-
Built-in SEO management tools
-
Extendable with plugins, themes, and modules
-
Support for multiple users and roles
According to W3Techs (2025), more than 63% of websites using CMS run on WordPress, demonstrating the dominance of this open-source platform.
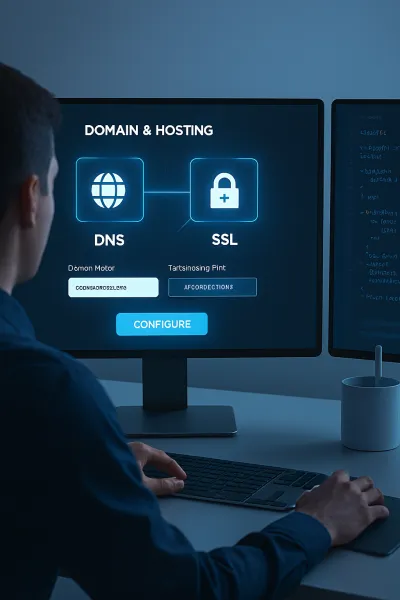
2. Preparing for Installation
Before installing a CMS, make sure you have the following essentials ready:
a. Web Hosting Environment
Choose a hosting provider that supports:
-
PHP and MySQL/MariaDB (for most CMS platforms)
-
SSL certificate for secure HTTPS access
-
Sufficient storage and bandwidth for your project’s scale
Popular hosting providers include SiteGround, Hostinger, and Bluehost, each offering one-click CMS installations.
b. Domain Name
Register a domain name that’s short, memorable, and SEO-friendly.
For example, yourbrand.com or learncms.org.
c. Server Access
You’ll typically use:
-
cPanel or Plesk for web-based setup
-
FTP/SFTP for manual installation
-
phpMyAdmin for database management
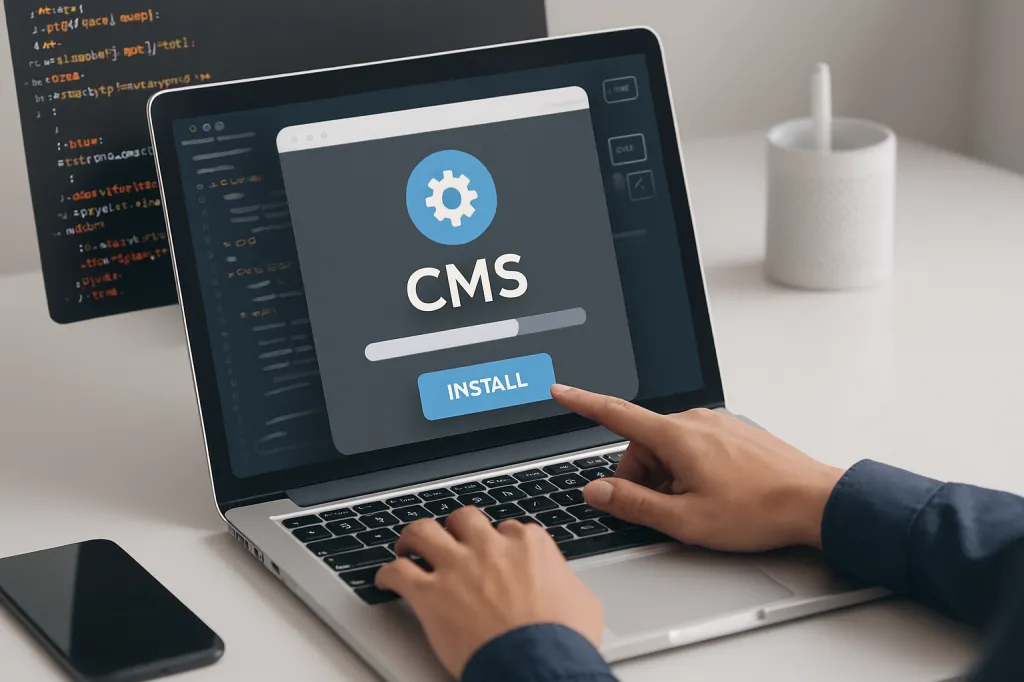
3. Installing the CMS
Let’s walk through the general steps, applicable to most CMS platforms.
Step 1: Download and Upload
Download the CMS package from its official website and upload it to your hosting root directory (usually /public_html/).
Step 2: Create a Database
Using your hosting control panel, create a new MySQL database and assign a user with full privileges.
Step 3: Run the Installation Script
Visit your website’s URL to start the installation wizard.
You’ll be asked to enter:
-
Database name, username, and password
-
Site title and admin credentials
-
Language preferences
Step 4: Verify and Log In
Once the setup is complete, log in to the CMS admin panel (e.g., /wp-admin/ for WordPress) to configure settings and customize your theme.
4. Essential Post-Installation Configuration
After installation, many users overlook critical setup steps that impact security and performance.
a. Security Settings
-
Change the default admin username
-
Install a security plugin (e.g., Wordfence for WordPress)
-
Enable automatic updates for plugins and themes
-
Regularly back up your site
b. SEO Optimization
-
Configure permalink structure (SEO-friendly URLs)
-
Install an SEO plugin such as Yoast SEO or Rank Math
-
Submit your XML sitemap to Google Search Console
c. Performance Enhancements
-
Use a caching plugin (e.g., WP Rocket, LiteSpeed Cache)
-
Optimize images using tools like TinyPNG
-
Implement a CDN for faster global delivery
5. Testing and Going Live
Before making your website public, perform the following checks:
-
Test all internal links and forms
-
Review site responsiveness on mobile and desktop
-
Verify that your SSL certificate is working correctly
-
Validate your site with Google PageSpeed Insights
Once everything looks perfect, publish your first article and start tracking analytics via Google Analytics 4 or Matomo.
6. Best Practices for Long-Term Maintenance
Maintaining a CMS is not a one-time task.
To ensure long-term stability:
-
Regularly update your CMS, themes, and plugins
-
Monitor uptime and load speed
-
Schedule weekly or automated backups
-
Use staging environments for testing changes safely
A well-maintained CMS site not only enhances security but also improves user experience and SEO performance — critical factors for Google AdSense approval and long-term revenue growth.
Conclusion
Installing and setting up a CMS is more than a technical procedure — it’s the foundation of your digital presence.
By following structured steps and applying professional best practices, you can create a secure, fast, and SEO-optimized website that attracts visitors and advertisers alike.
If you’re aiming to monetize your website through Google AdSense, starting with a properly installed and optimized CMS gives you a strong advantage from day one.