Chapter 1: Introduction & Setup
Learning Objectives
By the end of this chapter, you will be able to:
- Explain the fundamental concept of a server-side scripting language.
- Install and configure a local development environment (XAMPP).
- Understand the basic file structure for a local PHP project.
- Write and successfully run your first PHP script to display text in a browser.
1.1 What is PHP & Why Do We Need It?
PHP, which stands for Hypertext Preprocessor, is a server-side scripting language designed specifically for web development. The term "server-side" is the key concept that makes PHP different from languages like HTML or JavaScript.
To make this easier to understand, let's use an analogy of a restaurant:
- The User (Client/Browser) is the customer who walks in and orders food.
- The Web Server is the kitchen, where all the ingredients and chefs are.
- HTML/CSS is like a pre-made sandwich in the kitchen. When a customer orders it, the waiter (server) can just grab it and serve it immediately. This is a static page—it's fast, but it never changes.
- PHP is the Chef in the kitchen. When a customer orders the "Special of the Day" (a dynamic request), the Chef (PHP) has to cook that meal from scratch based on the order. The Chef processes the request, gathers ingredients (data from a database), cooks the meal (runs logic), and plates it beautifully (generates the final HTML). The waiter then serves this custom-made meal.
So, PHP's job is to work "in the kitchen" (on the server) to process user requests (like form submissions or logins), handle data, and generate a final HTML page as the output, which is then sent back to the user's browser.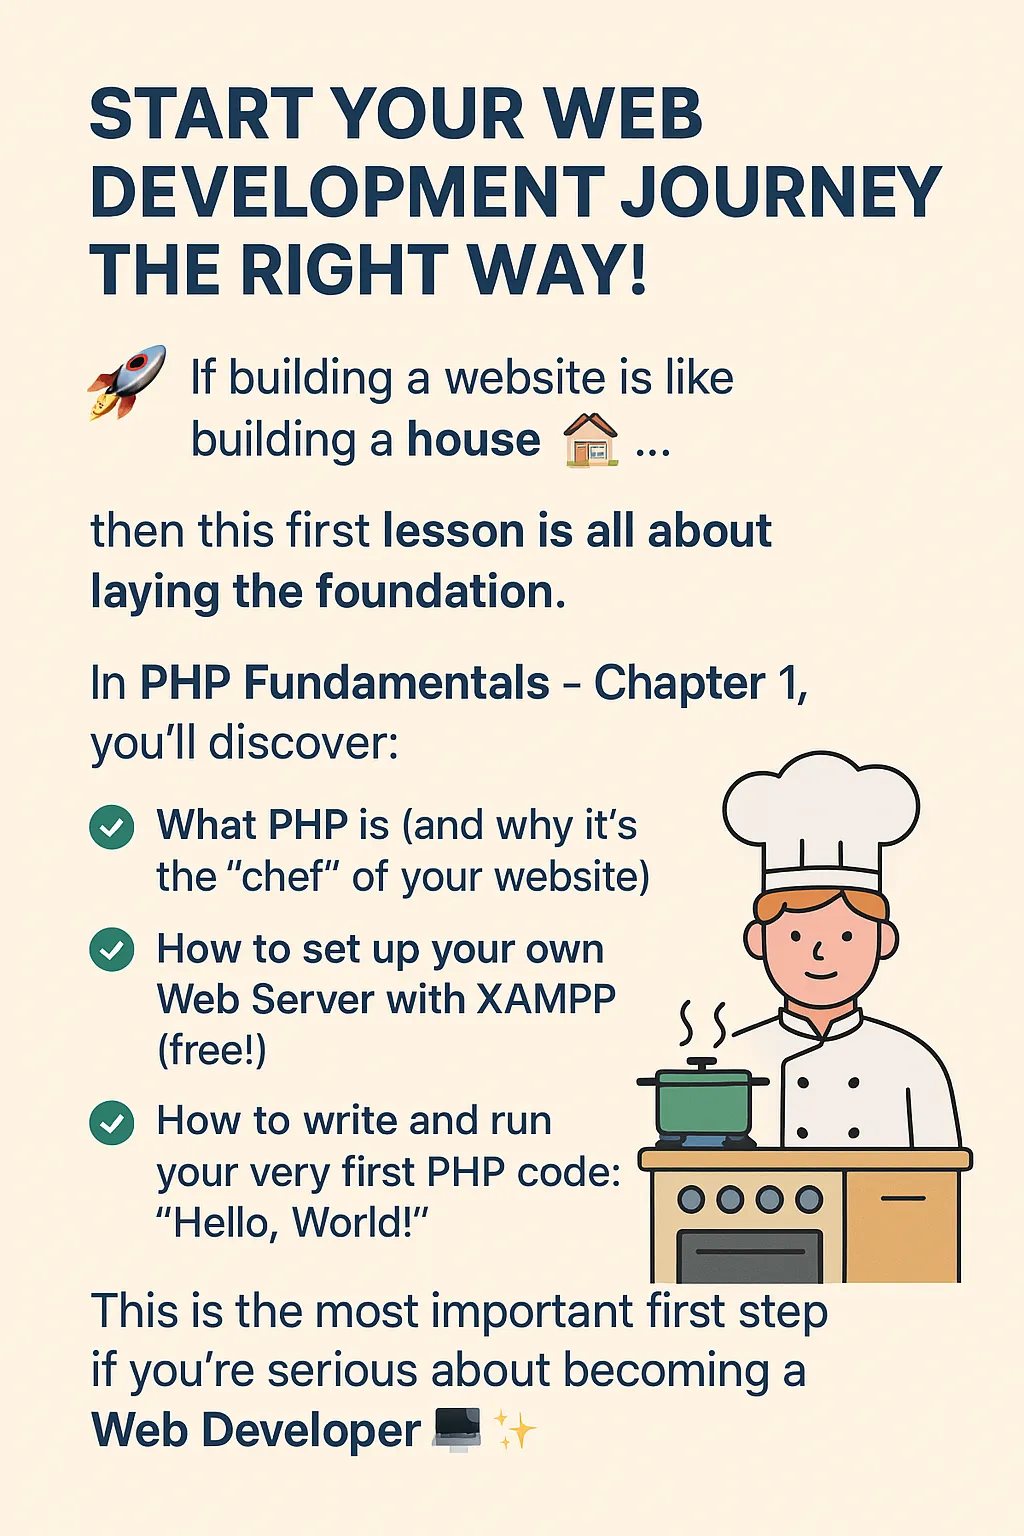
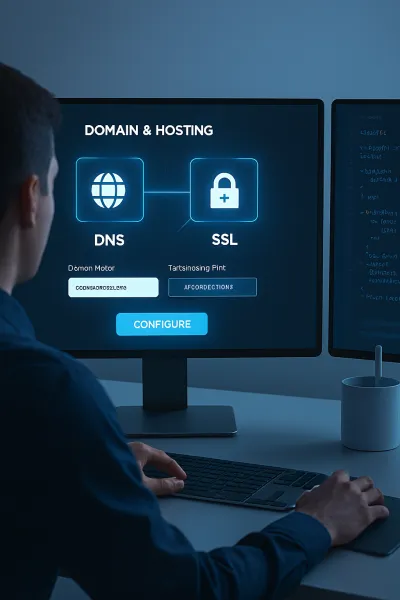
1.2 Creating Our Kitchen: Installing a Development Environment
Because PHP runs on a server, we can't just open a .php file in our browser like we do with an .html file. We first need to turn our own computer into a simulated web server.
The most popular tool for this is XAMPP, a free software bundle that includes everything we need:
- X: Cross-Platform (works on Windows, macOS, Linux)
- A: Apache (The web server software)
- M: MariaDB (The database software, formerly MySQL)
- P: PHP (The language interpreter)
- P: Perl (Another scripting language)
Steps to Install XAMPP:
- Download: Go to the official website at apachefriends.org and download the latest version for your operating system.
- Install: Run the installer. For most users, the default settings are perfect.
- Run: Open the XAMPP Control Panel and click the Start button for the Apache module.
- Verify: Open your web browser and navigate to
http://localhost. If you see the XAMPP welcome page, the installation was successful!
1.3 Organizing Your Project: The 'htdocs' Folder
All of your website files must be placed in a special folder named htdocs, located inside your XAMPP installation directory (e.g., C:/xampp/htdocs/). Think of this folder as the "public" directory of your web server.
Let's create a new folder for our first project inside `htdocs`, for example:
C:/xampp/htdocs/my-first-project
1.4 Writing Your First Script: "Hello, World!"
It's time to write some code.
- Open your favorite code editor (e.g., VS Code).
- Create a new file and save it as
index.phpinside your newmy-first-projectfolder. - Type or paste the following code into the file:
<!DOCTYPE html>
<html lang="en">
<head>
<meta charset="UTF-8">
<title>My First PHP Page</title>
</head>
<body>
<h1>A Static HTML Title</h1>
<p>
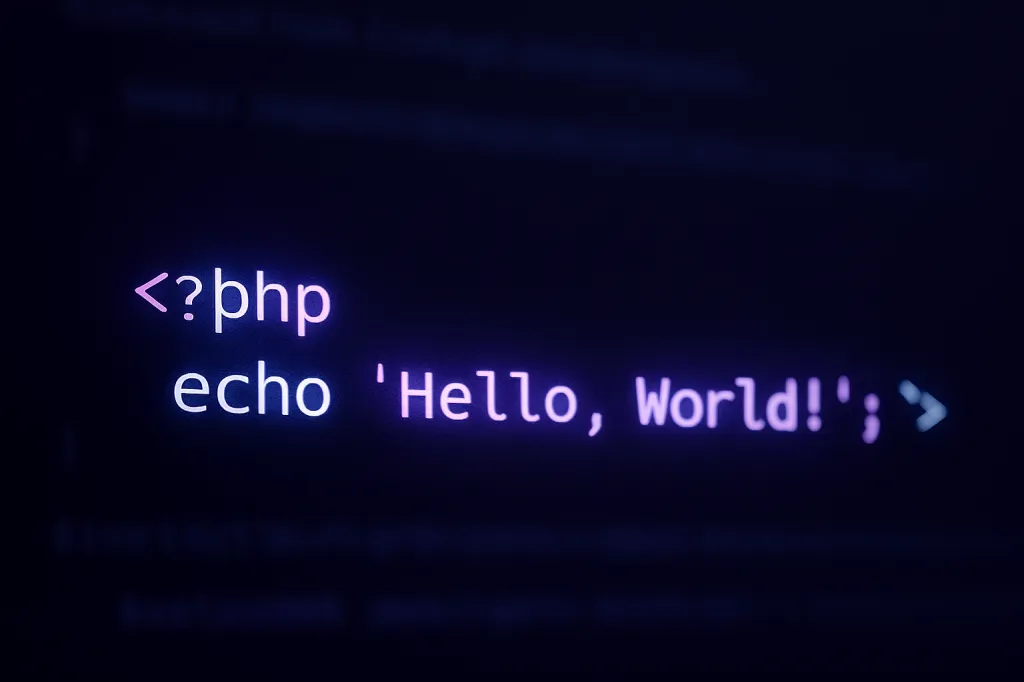
<?php
// This is a PHP comment. The line below will be processed by the server.
echo "Hello, World! This text is generated by PHP.";
?>
</p>
</body>
</html>4. Run the Script: Open your browser and go to the URL http://localhost/my-first-project/
You should see the "Hello, World!" message displayed on the page. This confirms that your server is running and successfully processing PHP code!
Key Code Elements:
<?php ... ?>: These are the PHP tags. The server knows that any code between these tags must be executed as PHP.echo: The fundamental command for outputting text to the HTML page.;(Semicolon): The "period" at the end of a PHP statement. It's mandatory.//: This indicates a single-line comment, which is ignored by the PHP engine and used for explaining code.
Conclusion & What's Next
In this chapter, you learned the core concept of PHP, set up a professional development environment, and successfully ran your first dynamic script. In the next lesson, we will dive into the heart of programming: Variables and Data Types, the tools that allow us to store and manipulate information in our programs.