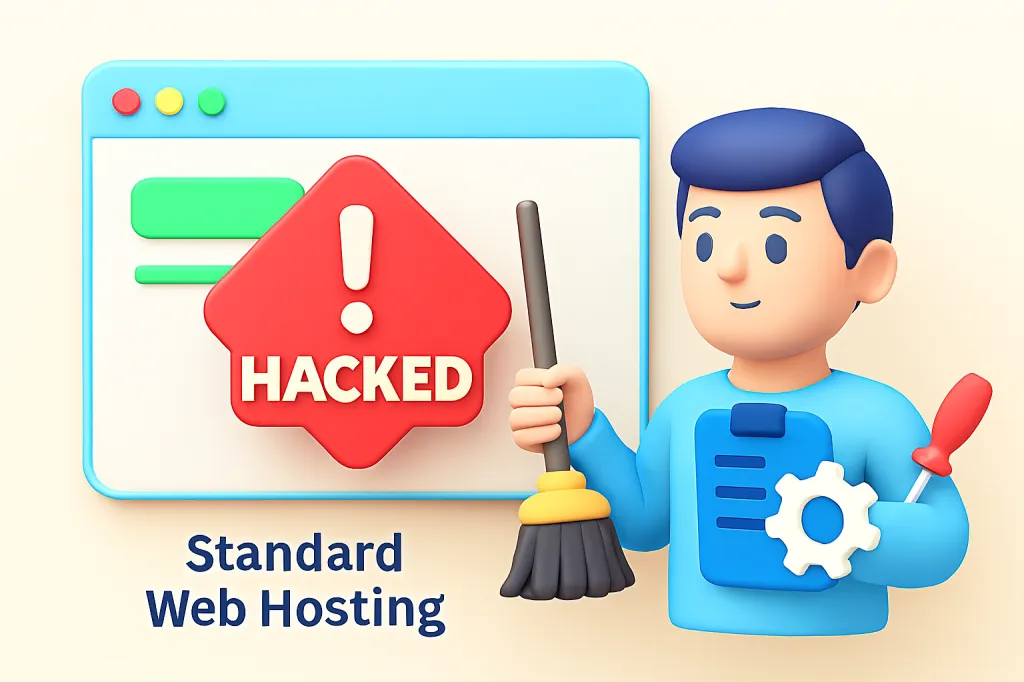
It's a moment every website owner dreads: you visit your site and see strange content, you're unable to log in, or worst of all, you get a bright red warning from Google that your site is dangerous. Discovering your website has been hacked can be a stressful and panicky experience.
But the most important thing to do right now is not to panic. A hacked website is a serious problem, but it is almost always fixable. By taking a deep breath and following a methodical, step-by-step process, you can regain control, clean the infection, and secure your site to prevent it from happening again. This is your emergency checklist.
Step 1: Don't Panic. Isolate Your Website & Change Passwords
Your first priority is to prevent further damage. Contact your web hosting provider immediately. Inform them that you believe your site has been compromised. A good host will have procedures for this and can help you by temporarily isolating your site to prevent the hack from spreading or taking a server-level snapshot for investigation.
While you're doing that, immediately change all critical passwords:
- Your web hosting account password
- Your cPanel password
- All WordPress administrator passwords
- FTP passwords
This helps to lock the attacker out of your accounts.
Step 2: Scan Your Site to Identify the Hack
Before you can clean the site, you need to understand the extent of the damage. Use a security scanner to identify malicious files and code.
- Remote Scanners: Use a free external tool like Sucuri SiteCheck. Simply enter your domain name, and it will scan your site for common malware, blacklist status, and known vulnerabilities.
- Server-Side Scanners: If you use WordPress, install a security plugin like Wordfence or MalCare. Their scanners will perform a much deeper check of your server files to find infected or modified files.
The scan results will give you a list of compromised files, which is crucial for the cleanup process.
Step 3: Restore from a Clean Backup
By far, the fastest, easiest, and most reliable way to recover from a hack is to restore your website from a clean backup. This is why having an automated, regular backup strategy is so critical.
Identify a backup file from a date before you believe the hack occurred. You can then ask your hosting provider to restore it for you, or use a backup plugin like UpdraftPlus to perform the restoration. After restoring, you must still proceed to the next steps, because the vulnerability that allowed the hack in the first place is likely still present.
Step 4: Clean the Malware Manually (If No Backup is Available)
If you don't have a clean backup, the process is much more difficult and technical. This often involves:
- Downloading all your website files via FTP.
- Manually comparing your core CMS files (e.g., WordPress core files) with fresh, clean downloads from the official repository to find any modifications.
- Searching for suspicious files and looking for strange code injections (often using functions like base64_decode, eval, or gzinflate) within your theme and plugin files.
- Checking your database (via phpMyAdmin) for any new, unauthorized admin users in the users table.
Recommendation: For non-technical users, manual cleanup is risky. If you don't have a backup, it is highly recommended to hire a professional website security service like Sucuri to clean the site for you. It's a worthwhile investment.
Step 5: Find and Fix the Vulnerability
Cleaning up the malware is only half the battle. If you don't close the security hole the attacker used to get in, your site will be re-infected almost immediately. The most common entry points are:
- Outdated Software: An outdated plugin, theme, or WordPress core version.
- Weak Passwords: A compromised admin or FTP password.
- Insecure Themes/Plugins: Using "nulled" (pirated) premium themes or plugins, which often come bundled with malware.
Your action plan is to update everything: WordPress core, all your themes, and all your plugins. Delete any themes and plugins you are not actively using. Enforce strong passwords for all users.
Step 6: Remove Blacklists
After you have cleaned the site and patched the vulnerability, run your security scanners one more time to confirm that the site is 100% clean. If your site was blacklisted by Google (showing a red warning screen to visitors), you will need to use your Google Search Console account to submit a "Reconsideration Request" under the "Security Issues" report.
Step 7: Implement Proactive Security Measures
Now that your site is clean, you must harden it to prevent future attacks. This involves the preventative steps you should have been taking all along: using a good security plugin (like Wordfence), implementing a Web Application Firewall (WAF) like Cloudflare, using strong passwords, and ensuring you have an automated, off-site backup system in place.
Conclusion
Dealing with a hacked website is a stressful but valuable learning experience. It underscores the critical importance of proactive maintenance and security. By following this emergency checklist, you can take a methodical approach to clean up the mess, and more importantly, take the necessary steps to ensure it never happens again. 🛡️


