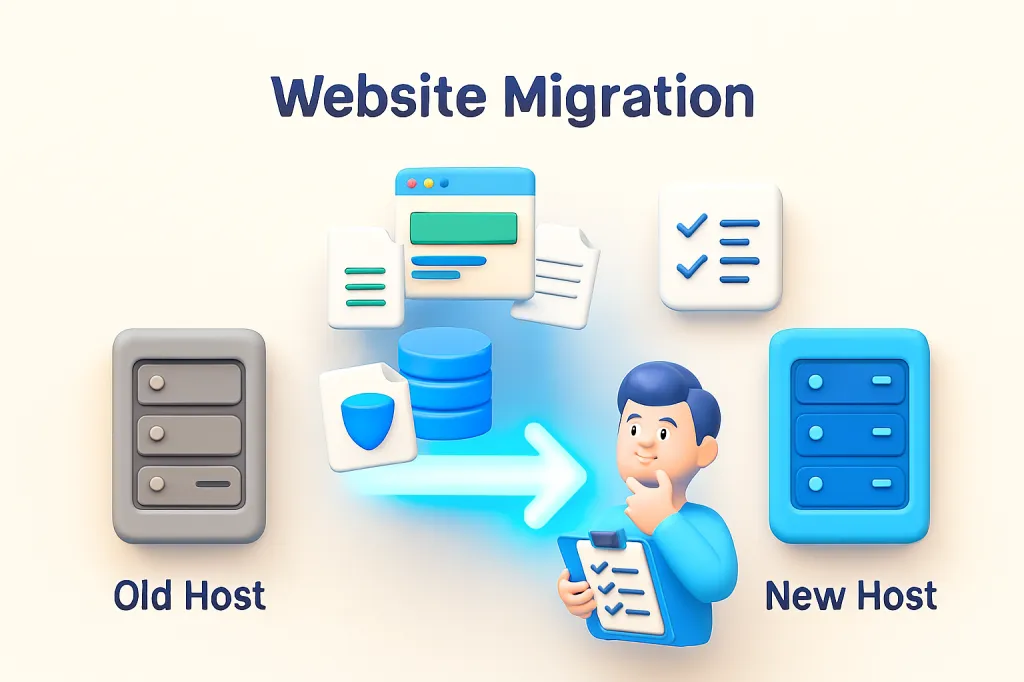
Has your website outgrown its current hosting plan? Are you tired of slow speeds, frequent downtime, or poor customer support? If so, it might be time to move your website to a new web host. The process, known as website migration, can seem intimidating, with fears of data loss and dreaded downtime.
However, with a clear plan and careful execution, you can migrate your entire website to a new provider smoothly and successfully, often with zero downtime. This guide provides a 5-step checklist that breaks down the process into manageable stages, empowering you to make the switch with confidence.
Step 1: Choose Your New Host (But Don't Cancel the Old One!)
Before you can move, you need a destination. Research and select your new web hosting provider based on key factors like performance, support, security, and pricing. Once you've made a decision, purchase your new hosting plan.
Crucial Warning: Do NOT cancel your old hosting account yet! This is the most common mistake beginners make. Your old site must remain live throughout the entire migration process to avoid any downtime. You will only cancel the old account after you have confirmed the move is 100% successful.
Step 2: Backup Your Entire Website
This is the most important step in the entire process. A complete backup is your safety net. You need to back up two main components:
- Your Website Files: These are all the folders and files that make up your site's structure and content (e.g., PHP files, images, themes, plugins). You can typically download these by connecting to your old host via an FTP client (like FileZilla) or by using the File Manager in your cPanel to compress everything into a single .zip file and download it.
- Your Database: This is where all your dynamic content is stored, such as posts, pages, user data, and settings. You can export your database as a
.sqlfile using the phpMyAdmin tool in your hosting control panel.
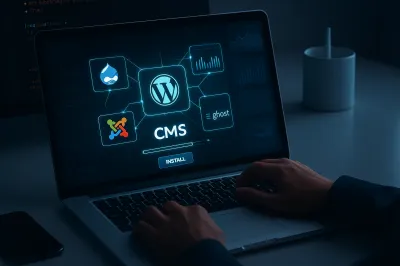
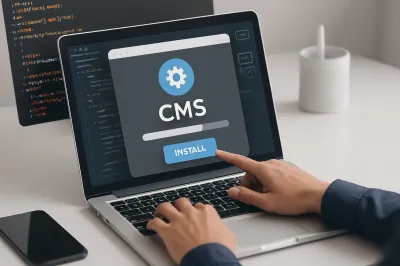
For WordPress Users: The process can be simplified by using a migration plugin like All-in-One WP Migration or Duplicator. These plugins bundle your files and database into a single package, making both backup and restoration much easier.
Step 3: Upload Files and Database to the New Host
Now it's time to set up your new home. This step involves reversing the backup process:
- Import the Database: On your new host's control panel, create a new database and a new database user. Then, open phpMyAdmin, select your new database, and use the "Import" function to upload the
.sqlfile you backed up earlier. - Upload the Files: Using FTP or the new host's File Manager, upload all your website files to the root directory of your new server (usually a folder named public_html).
- Update Configuration File: Your website's code needs to know how to connect to the new database. You must edit your site's configuration file (for WordPress, this is the
wp-config.phpfile) and update the database name, database user, and password to match the new ones you created in the first part of this step.
Step 4: Preview Your Website on the New Host (Before Going Live)
How can you test your new site if your domain name still points to the old server? The answer is by editing your local hosts file. This is a special file on your computer that lets you manually map a domain name to a specific IP address, overriding the public DNS.
By adding a line like 123.45.67.89 [ลิงค์ที่น่าสงสัยถูกลบ] (where the numbers are your new server's IP address) to your hosts file, you can trick your computer into loading the site from the new host. This allows you to browse your migrated site, test its functionality, and fix any issues before the public sees it. This is the professional's secret to ensuring a zero-downtime migration.
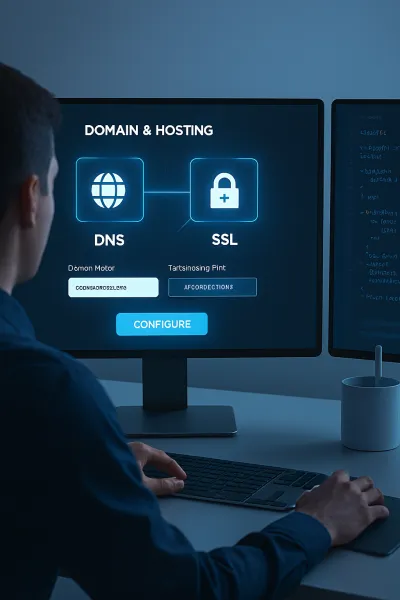
Step 5: Update Your DNS and Go Live
Once you've tested everything and confirmed the site works perfectly on the new server, it's time for the final step: pointing your domain name to the new host.
- Log in to your domain registrar (the company where you bought your domain name).
- Find the DNS settings for your domain.
- Update the "Nameservers" to the new ones provided by your new hosting company.
Be patient: DNS changes can take a few hours to "propagate" across the internet. During this time, some visitors might still see the old site while others see the new one. After 24-48 hours, the switch should be complete for everyone. Keep your old hosting account active for at least another week just in case.
Conclusion
While website migration involves several steps, it's a very manageable process when you follow a clear checklist. The key to a successful, stress-free move is preparation, backing up everything, and testing thoroughly before making the final DNS switch. By following these steps, you can confidently move your website to a better hosting environment without interrupting your visitors' experience. 🚚